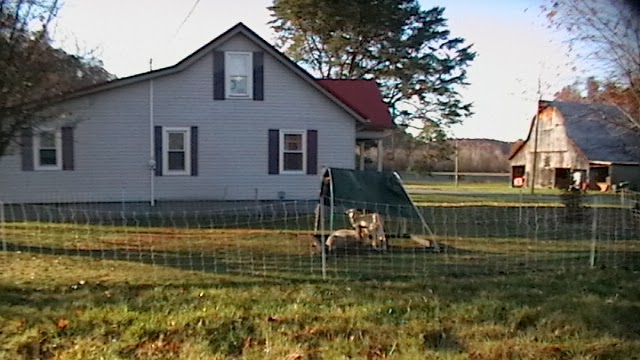
We are, more or less, ready for winter.
The garden is turned and mulched, wood is stacked, coop tightened up, tarps ready for the rabbit cages, and we're gradually moving the sheeps' grazing towards their barn. Now it's time to start on that long list of inside projects. Like the bathroom.
This is the bathroom from the realtor's listing.
My challenge, and I did decide to accept it, was to redo it on a very tight budget.
We had started back in April. We tore out the tub doors and, since the tub space is quite tiny, replaced them with a curved shower rod and curtain. Now you can take a shower without banging your elbow. The rod was our biggest splurge.
Next up was painting, painting, painting.
The textured ceiling had bubbles and bare spots. I fixed what I could and repainted it white. I'm not sure if the fixes will hold but, as per my mantra, it's ok for now.
After my neck recovered, it was time for more visible changes.
The "woodwork" is funky, plastic-type stuff in a trailer brown.
I painted it all white. I also painted the wooden, 70's era toilet paper holder and the toilet seat*. Suffice it to say that painting the toilet seat is problematical when there is only one toilet in the house.
I had decided on blue for the upper walls. I don't particularly like blue but the vinyl floor is white and blue and the plastic tile on the lower part of the walls has blue flowers. At some point I'd like to replace both but for now they stay. And so the upper walls went from light brown to bright blue.
Then it was on to the built-in sink cabinet. We both feel this is too big for the room but, again, for now it stays. It too was wood with a glossy finish. I mixed plaster of paris with some flat white paint as a chalk paint primer (learned this from Gail Wilson's blog My Repurposed Life).
 |
| Too cold to paint in the garage! |
It covered great. Then I mixed the blue paint with white for a lighter shade. The semi-gloss covered fine over the chalk paint. I replaced the metal knobs with wooden ones painted white.
So now I could return to painting.
The ugliest part of the bathroom by far were the three hollowcore doors. Three doors (!) in a 7' x 9' room: the room door, a closet behind that door, and a closet by the tub. We early on took off the closet door behind the main door as the only purpose it seemed to serve was to smash it's doorknob into the other door.
We decided to pull a slight of hand to disguise the hollowcoreness of these blah things. We got some half-round molding and glued it on, then primed and painted.
 |
| It's a good thing we're readers! |
Despite taking forever--you can only do one side at a time, let everything dry, paint, let dry, etc.--it was worth the effort.
 | |||
| Tub closet door |
 |
| Door with panel covering hole. |
The doorknobs of these doors were battered and a fake, bright gold. Since the faucets are silver, I thought it would be good if the rest of the metal fittings in the room were less jarring. I ordered a small jar of Rustoleum Metallic Accents paint in pewter and painted the doorknobs, hinges, some wall hooks, and even the toilet seat hinge. It does look better but I'm not sure how well this will hold up under everyday use.
As always, this budget make-over cost more than I had hoped:
shower rod and curtain, $75
3 gallons of paint, $70 (with lots left over for other projects)
molding, $27
metallic paint, $7
plumber, $77
We still need to replace two wall sconces and add a few other touches. But for now, it's ok!
*Painting a toilet seat does not appear to be a great idea, I have already had to touch up too many dings. Tom is, at this very moment, at True Value perusing new seats so we probably should add about $12 to the total outlay.


